Quick tutorial on editing the wiki:
Full discretion: it has been years since I last used html/css so how I'm going to be teaching this is horrible. I'm sorry. Also this tutorial only applies to people I've allowed to access the actual website's files (thank you neocities).
Okay, first thing you need to do is actually make the page:
- Click new file under the home page.
- Name it (without the quotes) formatted exactly like "Page_Name.html". For example, the file name for The Wizard is "The_Wizard.html".
- In the file, right underneath body, paste this block of code:
<div class="header">
<p><a href="/index.html">Main Page</a> <a href="/blog/index.html">Blog</a></p>
</div>
- Next, on the line below this chunk of code, create the heading using
<h1>Page Name</h1>.
- On the next line start writing the article using
<p></p> tags. The first time the page name comes up, format it using capital letters appropriately and bold it using <strong></strong> tags. Add pronouns after the first time the page name comes up as well, formatted like this: <em>(they/them/he/him/etc/etc2)</em>.
- Right now, the code should look something like this:

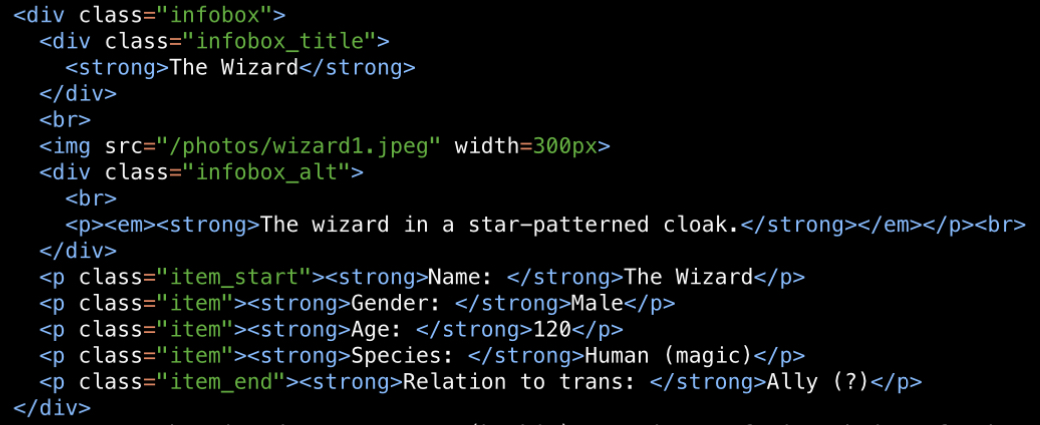
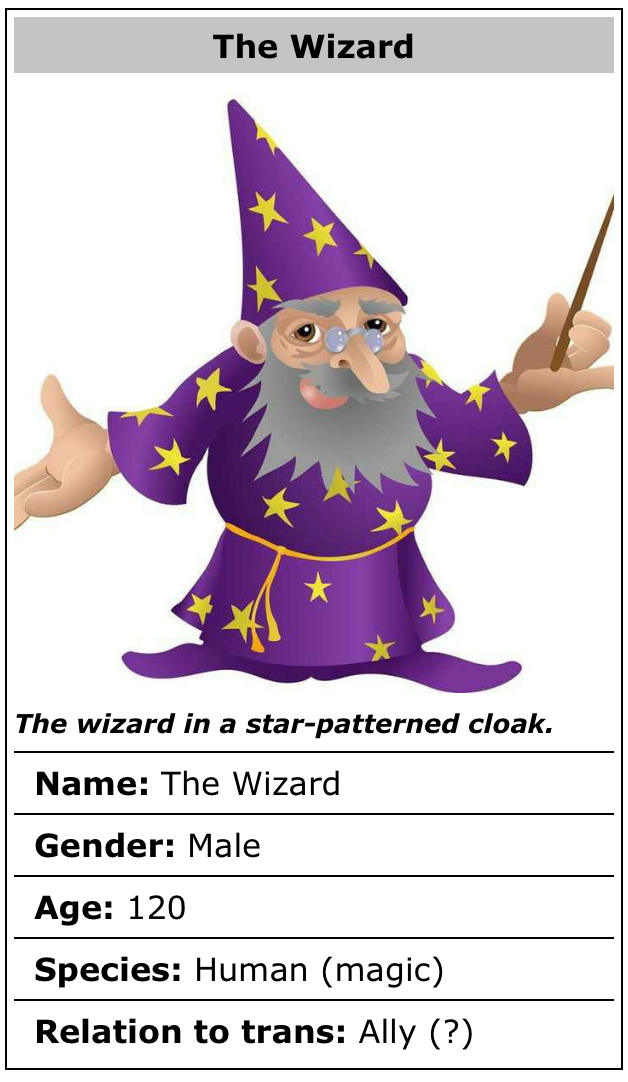
- Now, underneath the title (the <h1> tags), but before the paragraph, insert a line of code and copy and paste this block (I know it looks bad):
            <div class="infobox">
              <div class="infobox_title">
                <strong>Page Name</strong>
              </div>
              <br>
              <img src="neocities.png" width=300px>
              <div class="infobox_alt">
                <br>
                <p><em><strong>image description</strong></em></p><br>
              </div>
              <p class="item_start"><strong>Name: </strong>Page</p>
              <p class="item"><strong>Age: </strong>1 squilliam</p>
              <p class="item_end"><strong>Gender: </strong>N/A</p>
            </div>
- Now you need to edit this chunk of code to fit in the information for whatever page you're working on. A quick rundown:
- Replace
Page Name on line 3 with the actual page name formatted with capitals correctly.
- Replace
"neocities.png" on line 6 with an image of your choosing that you've uploaded to the photos folder. This should look something like "/photos/filename.jpg". DO NOT CHANGE THE WIDTH.
- Replace
image description on line 9 with a brief image description. If it ends up being too long (~35 characters) it will not format properly.
- Now, the not so fun part: edit lines 11-13 to fit whatever info you want in your box. You may also want to (and it is preferable if you) copy and paste these lines to add more info. The most important thing to remember is to have the first line of this info have the class
"item_start", the middle lines have the class "item", and the last line to have the class "item_end". The lines will not format correctly if you do not do this. Remember to keep a space between the colon and the </strong> tag.
- This is what a correctly created infobox looks like in both code and the actual website, respectively: